Finding the right participants
This guide demonstrates how to find and select the right participants for your studies using Prolific’s API.
Filters
Filters allow you to restrict access to your study based on a wide variety of criteria. This guide will demonstrate how to select and use filters via API.
For more information on the types of filters we have, please read the help center article here.
In-study screening
Custom screening lets you check for participant characteristics that aren’t available in our built-in filter options. This guide will demonstrate how to create and manage in-study screening via API.
For more detail on custom screening, including a video demo, see the help center article.
Create the survey with screening questions. Set up the survey to take different paths, for example:
- If someone answers “Yes” they’ll continue to your main survey
- If it’s a “No” they’ll be directed to your end of survey message
When participants are screened out, the survey must redirect them to Prolific with the appropriate completion code (or provide them with the code to enter manually).
Check out our integration guides for how to set up these paths, including how to create your end of survey message in your software.
Create a custom screening study on Prolific, with a screened out completion path
Screen-out slots: The maximum number of participants that can be screened out. This is separate from your study’s total number of places. Once the maximum screen-out slots are filled, your study automatically pauses.
Screen-out reward amount: The fixed payment for screened-out participants (minimum £0.10/$0.14). This must be less than the study reward and cannot be changed after publishing your study.
Find specialist and domain experts
Prolific creates and manages custom participant groups of specially curated experts, e.g., STEM experts and Language specialists. Click here to understand what domain experts are available and how they are verified.
Follow these steps to recruit domain experts for your studies via API:
Dynamically manage participant eligibility
Within study setup, you can use a participant’s first submission as a decision point, and automatically block them from re-entering your study if they don’t meet certain criteria or fail an attention check.
Here’s how to do it:
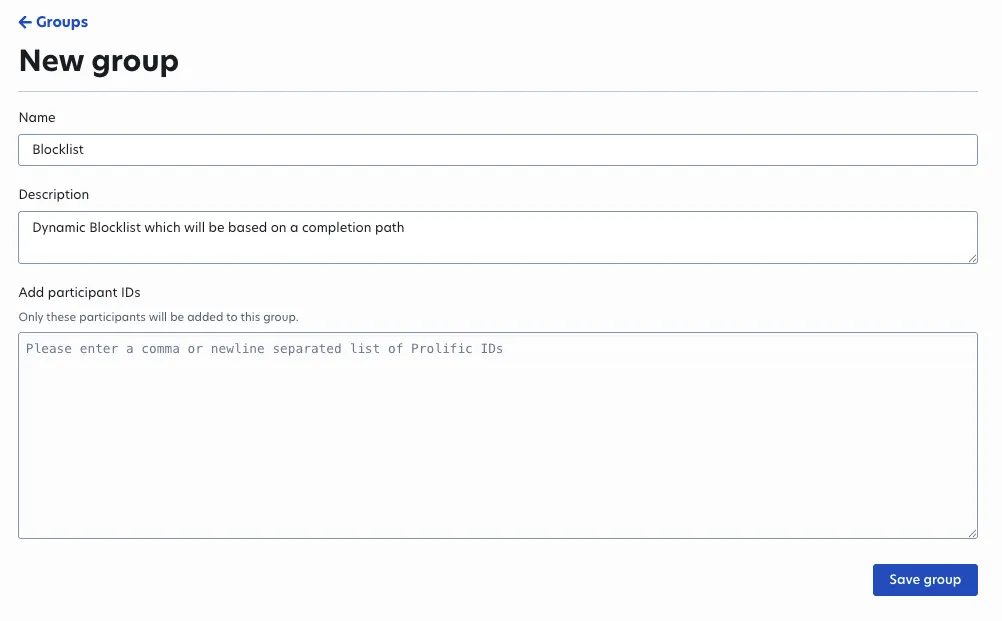
Create a Participant Group
Create a group where screened-out participants will be added. For more information on how to do this Create a new
participant group.
Save the participant_group_id – you’ll use this in the next step.
Set up your study to dynamically block future entries
Use a completion code with an action to add disqualified participants to the group, and block that group from participating again.
Participants who use this completion code will be added to the participant group and automatically blocked from entering the study again.
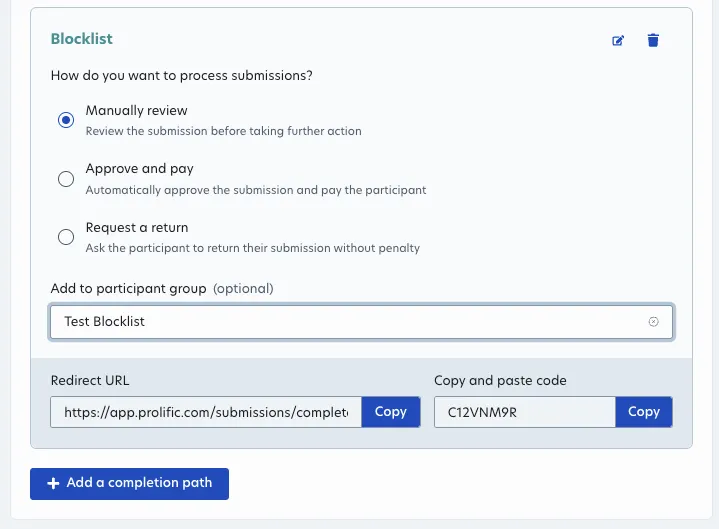
In the request body, completion_codes should contain a code with an “ADD_TO_PARTICIPANT_GROUP” action:
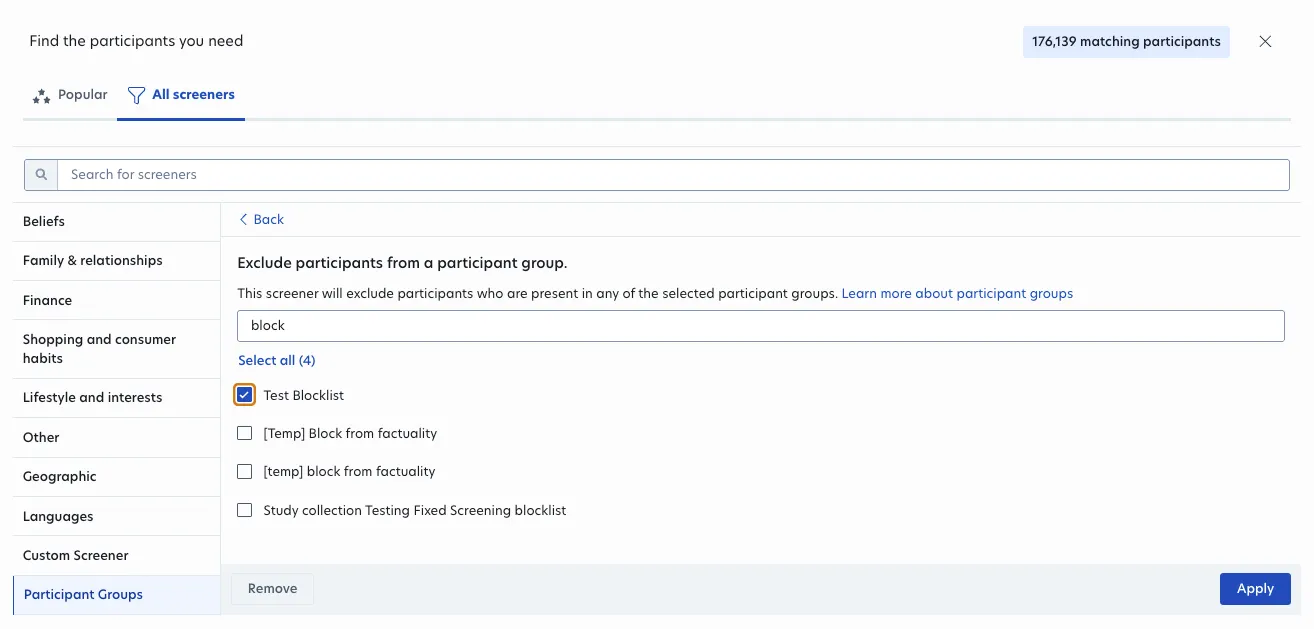
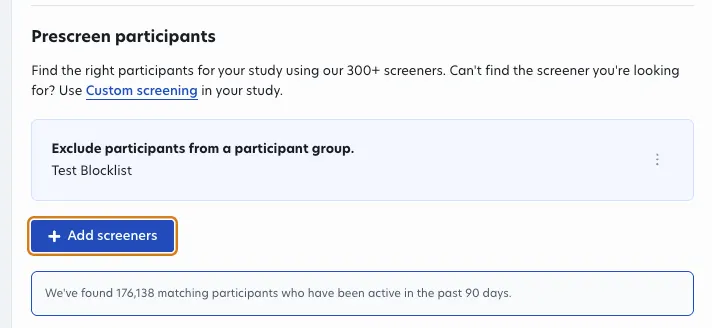
And include this completion_codes filter in your study setup:
✨ Result: You now have an adaptive eligibility flow, letting you use early responses to control who continues — without needing to pause or reconfigure your study!